- Rated ( votes)
- 2,383 views
-
- Stronghold Crusader Overview
- 4 mins


The Trader is a skirmish opponent in Stronghold Crusader: Definitive Edition (available in The Canary and the Trader DLC).
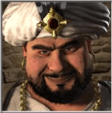
A dogged and greedy merchant, the Trader is a diplomatic opponent, who likes to exert and expand political influence by amassing heavenly amounts of wealth. He is not afraid to use these assets to hire mercenaries of all kinds from the comfort of a thriving city, where the mosques are filled with chants and the workshops constantly run. Though the Trader loathes aggression, he mobilizes large Arabian armies to gain the upper hand on the battlefield.
The Trader builds impressively large industries, within the confinement of a simplistic enclosure. The courtyard houses the numerous production buildings and civilian buildings, mostly sealed off with a semi-thick line of crenellated wall. Along the wall sporadic Perimeter Turrets and Square Towers are built with sparsely grouped Arabian bowmen, Skirmishers and Engineers with oil on top. The large towers are also given ballistae to counter long-range weaponry. Assorted Dog Cages can also be found throughout the city, which can attempt and ambush infiltrating units. The Trader's Keep is easily the most fortified location in his domain, housing a large number of attacking and defending units alike. There are also a large number of Heavy Camels, which are a versatile tool against ranged units, and to a lesser extent, in melee combat.
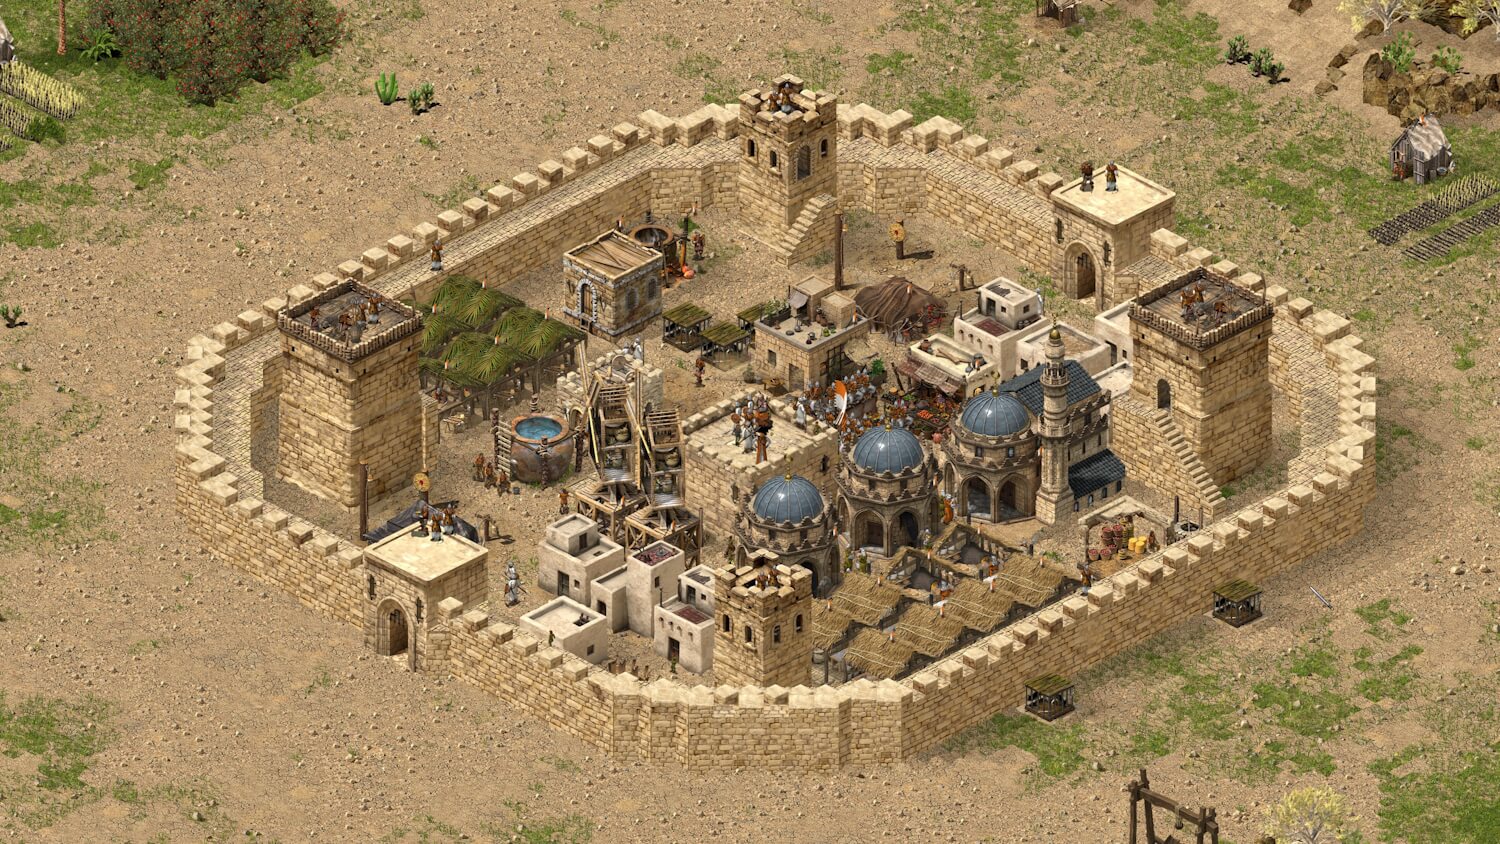
The Trader's preference towards large and productive castles makes his castles tremendously exposed to a sieging army. His continuous and sprawling walls provide plenty of blind spots for ranged forces, allowing the use of area attack commands at will. While crenellations along the curved sections disallow siege tower dockings, the Trader's gatehouses are particularly easily breached or captured, involuntarily providing ample real estate for evening out the height disadvantage and firing at the swarm of troops on the Keep. Since the Trader is mostly geared to deal with ranged units, mass armor can quickly prove to be his bane. Swordsmen, Pikemen and Eunuchs in particular can cut large swathes into the light units' ranks, in spite of the fact that there are Arabian Swordsmen and a small band Eunuchs on standby in the Trader's Keep. With enough numbers, there is no troop standing in the way of a victorious army!
The Trader builds perhaps the most extensive economy among the entire Crusader lord roster. He is kitted to exploit all branches of popularity - save for Fear Factor -, building all types of Mosques, while running a large bunch of Bakeries and Breweries to maximise taxes and also sell some surplus bread for profit. The crux of his consistent income is provided by a mass of Fletcher's Workshops producing crossbows, sold immediately on the market. The Trader's industry and food production barely lags behind, as numerous Stone Quarries, and to a lesser extent, Iron Mines provide materials to be converted into gold. Pitch is also provided to Engineers on defense duty. The Trader produces Cheese and Bread for his populace. It is not uncommon for the Trader to sit on tens of thousands of gold.
While the Trader does not put his heart into combat, he more than makes up for it by throwing units rather en masse at his opponents. His vast economy allows him to consistently form attack groups and siege armies, which arrive in large size. Right from the outset, the Trader sends dozens of Slingers to harass workers and mostly be a thorn in the unlucky victim's side. His raiding ability is not limited by any means, but unlike most other lords, he does not feature long-range siege engines (in fact, he does not use siege engines at all on the field) or other tactics; instead, he puts all of his eggs into the basket of sieges. The Trader handles harassments with Heavy Camels and a small group of Eunuchs, as well as he patrols his buildings with a mix of Slingers, Arabian Bowmen and Skirmishers.
Soon enough, the Trader forms up a considerably large army without siege engine support, which will be a recurring theme of his. The Trader likes sending a mixture of Arabian and Bedouin units, with more focus on the ranged kit that is strong on an even field. Skirmishers and Arabian Bowmen tend to come in very high numbers mixed together in a 1:1 ratio, compensating for their limited firepower. Sappers are also deployed, who can quickly pick apart walls and also stand their ground for a small time with their pickaxes. Finally, Arabian Swordsmen in not very impressive numbers also arrive, forming the last wave of the forces.
Repelling the Trader's efforts does not take much, however the sheer number of hostile units may catch a player or two by surprise. It is best to counter the mishmash of ranged troops with a strong ranged garrison of your own: either a mass Archer formation, or a more effective Crossbowmen regiment will do. Back these up by a couple of Healers, as the chip damage from the myriad of arrows and javelins quickly adds up, wearing down your troops. Against the fragile Sappers and potential moat diggers, deploy quite a number of Slingers overlooking the place of attack, easily picking them off. Even though the Trader builds no siege equipment, a Mangonel or two can cause great losses in his army ranks, while they are waiting for deployment. His Arabian swordsmen could be easily killed over time by concentrated fire from your garrison, but an Eunuch or two (or any heavy armored troop really) can stop them dead in their path.